Mother of a Fermentation Chiller
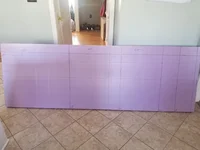
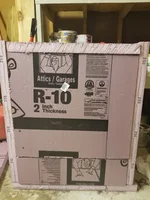
by Justin Michalicek on June 16, 2019, 11:13 p.m. UTCI've been doing the swamp cooler thing for maintaining homebrew fermentation temperatures for too long and have finally built a more controllable fermentation chamber. I used the plans for Mother of a Fermentation Chiller after doing some research and seeing how happy others have been with variations of it. It's lightweight and easy to move around unlike freezer and refrigerator based options and is inexpensive to build as long as you are ok with a big, ugly, box. I have seen people put wood enclosures around them which look very nice and would help insulation even more, but will obviously increase the cost.
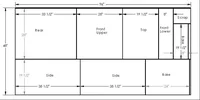
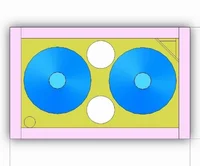
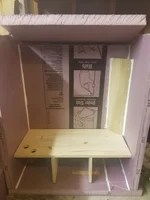
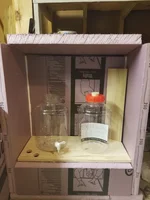
The only real change I made is the depth of the chamber. The 4x8 insulation board would not fit in my car, so I had to make a decision in the Home Depot parking lot. The insulation board had a number of pre-cut places to break the board, so I picked one and split the board there. That allowed me to get the insulation slide up from the trunk of the car and over the front passenger seat. The plans call for the base to be 19.5" deep, but mine is 16". Since I am using somewhat smaller 3 gallon Fermonsters with a 9" diameter instead of the more common 6 gallon carboy with a 12" diameter, the slimmer chamber works well. In fact, given that most of the time I will have a single fermentor in there, this may still be a bit too large.
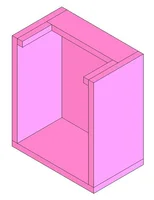
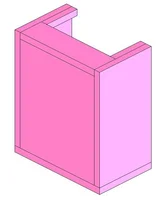
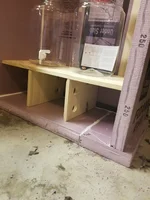
I used Loctite Power Grab to glue the foam boards to each other. I sealed the joints where the foam board insulation edges are on the outside with some insulation tape to both help seal up better and just give some more strength. Since the front and top sections seat inside the sides I will be adding a couple of supports so that nothing falls in due to getting bumped or while I am taking gravity measurements. I am also considering attaching the front sections to wood which overlaps the joints to help seal that up more and would allow me to use slide locks to hold it in place so that it cannot fall in or out. I have seen where others have put wood paneling on the outside and made these look like nice pieces of furniture for inside their house.
I am currently using an Inkbird ITC-308 with a computer case fan hooked up to the cooling power and then will use a seedling mat or small lightbulb in a canister hooked to the heating. This should allow me to maintain consistent temperatures pretty much year round. Eventually I will hook the temperature control into my current raspberry pi based temperature logging project.
I have used this for one batch so far. It held lower 60s F sitting in a garage on a 90F day, although it was going through ice quickly. Inside the house with the thermostat set to 74F it easily held fermentation temps at 62F. After everything was settled I actually needed fewer 2 liters of ice than the 3 I have room for, and even none most of the time, to keep the temperature stable and had to add some warm air once I needed to up the temperature to finish fermentation.
